How to Install a Secure Fix Toilet Seat
Learn how to fit a toilet seat using our Secure Fix Technology in just 6 easy to follow steps
Video Transcript
Hi, I’m Sam from Roper Rhodes and join me today as I fit one of our toilet seats, using our Secure Fix technology, in 6 easy to follow steps.
I’ll be taking you through everything, from the positioning of the anchors using the template, to the final attachment of the seat.
But firstly, what is Secure Fix?
Secure Fix is our unique adjustable hinge technology that keeps the WC seat firmly in place at all times. Through the use of an easy and time saving anchor template. All of our seats can be fitted to a WC in a matter of seconds using Secure Fix.
Right, Step 1. Place the rubber inserts provided into the WC holes.
Step 2, position the anchors over the fixing holes with the Secure Fix template over the anchor pins.
Step 3, adjust the anchors.
These need to be adjusted so that the dimension which is provided with the seat instructions, from the centreline of the template, to the front of the pan is met.
Step 4, insert the bolts provided into the correct holes you’ve aligned on the anchor and tighten using a manual screwdriver.
We do not recommend using an impact driver because these can result in cracking the WC pan.
Step 5, remove the Secure Fix template and place your cover caps over the anchors.
Step 6, click the seat in place.
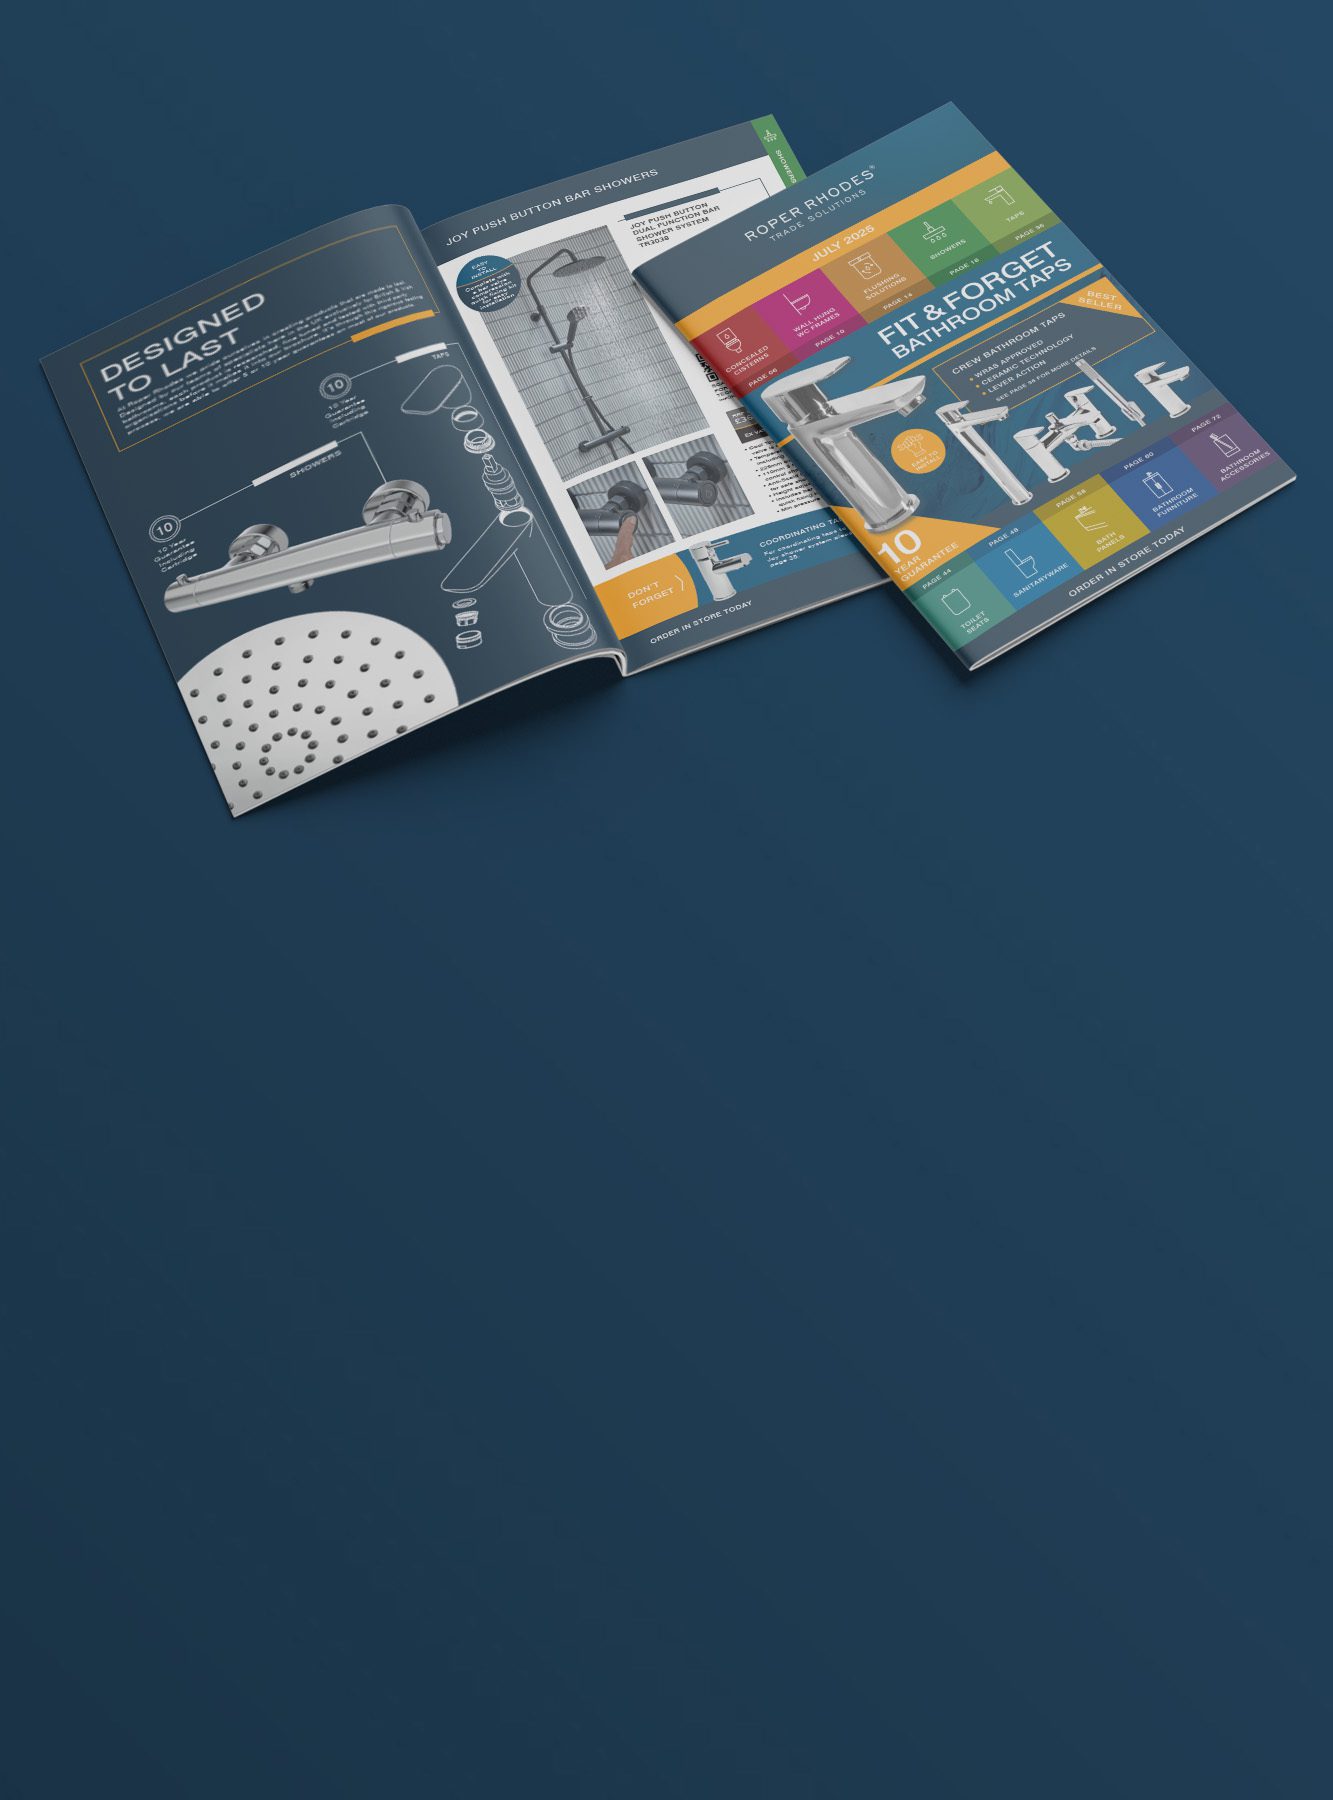
Here we’re using one of our Trade Solutions Neutron toilet seats. Secure fix comes as standard on the majority of our toilet seat lines. To find the best seat for you, view our latest Trade Solutions brochure.
And there you go, that’s 6 easy steps to install one of our toilet seats using our Secure Fix technology. For more information, head to roperrhodes.co.uk/trade-solutions.

TRADE SOLUTIONS
Designed exclusively for British and Irish bathroom installation. Discover our 300+ product collection today.
